
Figma is a cloud-based design platform that allows users to create, edit, and share designs all within a web browser—no hefty downloads or expensive software required.
Unlike older design tools that run only on certain operating systems, Figma works on Windows, Mac, and even Linux, as long as you have an internet connection.
At its core, Figma is used for designing user interfaces (UI) and user experiences (UX), including website layouts, mobile app screens, icons, social media graphics, and more.
Its greatest strength is real-time collaboration: multiple people can work on the same file simultaneously, seeing each other’s changes live, much like editing a Google Doc together.
Why Choose Figma for Simple Projects?
- No Installation Required: Figma runs in your browser or as a lightweight desktop app.
- Beginner Friendly: The interface is clean and intuitive. You can start a project in minutes, even with zero design background.
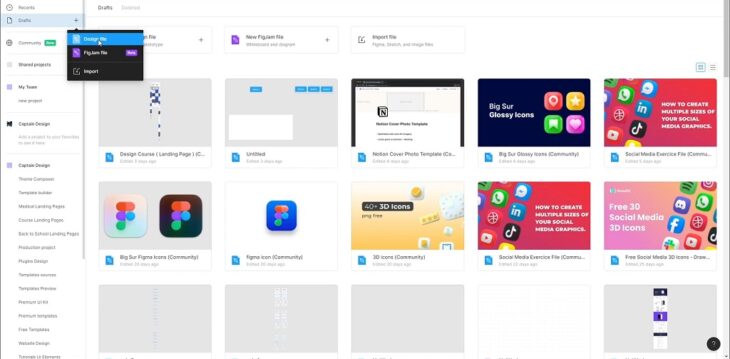
- Templates & Community: Figma has a massive library of free templates and resources created by its community, making it easy to find inspiration or pre-made layouts to build from.
- Collaboration: Sharing a project is as easy as sending a link. Clients, teammates, or mentors can leave comments or suggest edits directly on your design.
How To Start a Simple Design Project in Figma (Step-by-Step, With Extra Detail)
1. Sign Up and Create a New File
Getting started with Figma is as straightforward as it gets. Visit figma.com and create a free account—no payment or installation required.
After logging in, click on the big “+ New Design File” button on your dashboard.
What happens next?
You’re instantly launched into a blank canvas that works much like a giant whiteboard. This is your creative playground: you can make anything from a simple social media graphic to a complex website mockup. You don’t need to worry about saving files manually—Figma automatically saves every change to the cloud.
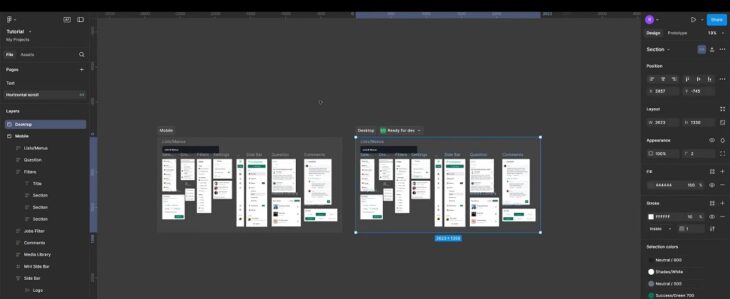
At first glance, Figma’s workspace might look intimidating, but its layout is clean and organized. On the left sidebar, you’ll see the layers panel, which shows every element and group you add—similar to Photoshop or Illustrator. Here, you can organize, rename, or lock layers to keep your project tidy. The top toolbar has all your creative essentials: On the right panel, you control the properties of whatever you’ve selected: size, position, color, border, shadow, typography, alignment, and more. Want to change a shape’s color? Click the color swatch. Need to make text bold or increase spacing? You’ll find it here. Frames in Figma are a bit like digital canvases within your main file—they define the boundaries and size of your design project. Click the Frame tool (or tap the “F” key), and you’ll see preset sizes for everything from iPhone screens to desktop web pages, Instagram posts, and even custom dimensions. Start with a desktop or mobile frame, depending on your target device. You can design several screens in one file—just create multiple frames side by side, each representing a separate page or app screen. Pick the frame size that matches the platform you’re designing for (for example, 1080×1080 pixels for an Instagram post). They help keep your layouts organized, preview designs for specific devices, and easily export individual sections when you’re done Now it’s time to bring your ideas to life: Once placed, you can drag shapes or text around, resize them by pulling on corners, rotate, duplicate (Ctrl/Cmd + D), group, align, or even combine shapes to build custom icons. This is one of Figma’s best-kept secrets for beginners and busy professionals. In the left sidebar, click “Community”—this opens up a vast library of ready-made templates, wireframes, icon sets, and plugins. Templates let you avoid starting from scratch, so you can focus on customizing rather than building every element. Plugins save you time and can help you add polish or functionality you might not otherwise know how to create. When you’re happy with your design—or even if you just want feedback—you can click the blue “Share” button in the upper right. Here, you can invite others by email, copy a shareable link, or set permissions (view-only, comment, or edit). This is perfect for team projects, client presentations, or getting advice from friends. If you need to use your design outside Figma, just select the frame or element you want to export, click the “Export” section at the bottom of the right panel, and choose the desired format: PNG, JPG, SVG, or PDF. You can export assets individually or as a full design. As your skills and needs evolve, you’ll notice why Figma is the go-to platform for UI/UX design services, from indie freelancers to global agencies. In a typical project, Figma lets you: Figma takes the intimidation out of design by offering a straightforward, collaborative, and beginner-friendly platform. Whether you’re crafting your first Instagram post, mocking up a website for a client, or exploring the world of UI/UX design services, Figma gives you the tools to bring your ideas to life quickly and easily—all in your browser, and often for free. If you’ve ever wanted to try your hand at digital design, there’s never been a simpler way to start.2. Get Comfortable With the Interface
3. Use Frames for Structure
For web design:
For graphics/social media:
Why use frames?
4. Add Shapes and Text
Every property is editable—just select the item and adjust color, border, corner radius, shadow, opacity, font style, and more from the right panel.5. Explore Templates and Plugins
Why use these?
6. Share and Export
How Figma Fits Into UI/UX Design Services
Tips for Simple Figma Projects
Conclusion